Sod Installation in Toronto
Sod Installation in Toronto: Read This Step-by-Step Guide
Are you planning to throw a late summer outdoor party soon but your lawn is all rough and patchy? Want to get a fantastic, green lawn fast? When it comes to getting a thick, healthy lawn quickly, nothing beats sod grass rolls for instant gratification.
Seeding might be the cheaper option, but it also takes longer to get that gorgeous green lawn you are looking for. When there is no time to wait for new lawn grass to grow, choose sod over seed.
Read this post to find out the steps to laying sod and ways to maintain it.
How to Successfully Install Sod on Your Lawn
Also known as turf, sod is a layer of soil with grass growing on it that is dug up with roots to be installed on a lawn. The cost of lawn sodding ranges between 28 cents and $2 per square foot. But you can save money on sodding by doing it yourself. Here, we present a complete guide to sod installation in Toronto. Follow it to create a dense, well-established lawn.
-
Take a Soil Test
Before you start the sod installation process, spend a little time testing your soil so you can provide a perfect growing environment for the turf.
Most turf grasses thrive in well-aerated soil with a pH (the measure of how acidic or alkaline your soil is) slightly toward the acidic side (between 6 and 7.5). Pick up a soil test kit to get the readings on pH and the levels of important nutrients like nitrogen, potassium, and phosphorus.
You can also send it to the professionals for accurate and complete results. They’ll analyze a sample from your yard and send you a report for about $15.
-
Measure the Area You Will be Sodding
Now it is time to measure the area that you will be sodding. Take these measurements carefully to make sure you purchase enough sod. Order 5% extra sod over the measured area so you will have enough to cut and fit around the curves. You can purchase sod from local sod suppliers.
They may ask you questions about your lawn, like the hardiness zone, sunlight vs. shade, and how intensely you’ll use the grass. This information will help determine the types of grass that will be in your sod.
Make sure the sod is delivered within 24 hours of being cut. Plan to lay it the day it is delivered.
-
Prepare the Soil
New sod cannot be laid over existing sod, as doing so will kill it and the existing grass. So, prepare the ground before you lay the new sod.
Start by removing all old grass, weeds, and stray plants, and breaking up any big clods. The goal is to end up with a level stretch of soil that is about an inch below the surrounding surfaces. To do that, use a sod cutter that cuts under the grassroots, loosening the grass in long strips.
You can either throw the old sod into your compost pile or call a local garden centre and ask whether they will accept it for use in their compost. Remember that the finished soil should not be compacted. Instead, it should be loose enough that it becomes easier for new roots to penetrate.
-
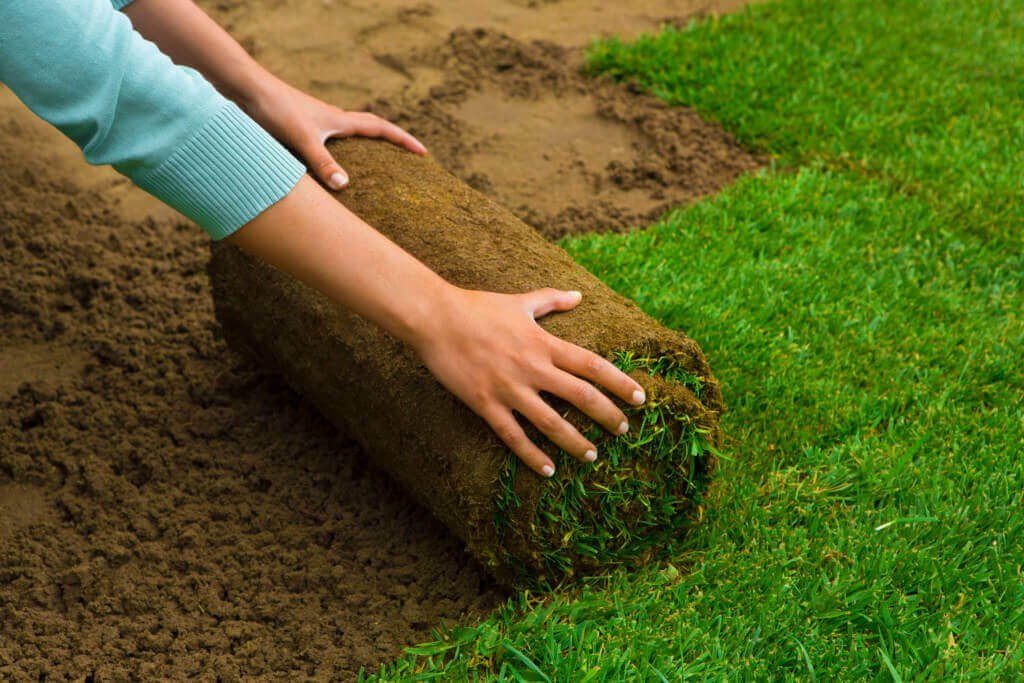
Lay the Sod in Neat Rows
Now it’s finally time to lay the new sod. Find the longest straight edge in your yard, such as a patio, fence, flower bed or driveway. Then, unroll the first roll of sod along it to keep the edges straight and even.
As you install the sod, rake the ground to remove any bumps. Lay the rolls out in a brick wall pattern, staggering the cuts and leaving no gaps. However, do not overlap the edges and avoid walking on the sod as you lay it. This is because your body weight might damage the sod or cause it to shift, leaving gaps between the edges.
Smooth loose areas or wrinkles by patting down the sod so it is flat against the soil underneath, with no air pockets. Do not forget to water the newly installed sod. You can use a knife to cut out holes for in-ground sprinkler heads as required. Continue laying additional sod and push your thumb along the edges to fit them perfectly against each other to ensure no bare soil shows along the seam.
-
Press Down the Sod
Once you have laid down the sod roll, make sure that it is evenly pressed into the earth. Push the sod firmly against the ground by rolling it with a lawn roller. This way, through a tight connection between the soil and sod, the roots will quickly get into the soil.
If you missed any air pockets in the previous step, the lawn roller can also remove those. After installing, limit the amount of traffic on the sod for the first three weeks.
-
Water the Sod
New sod should be watered immediately to ensure it grows smoothly. The ground below should be moist after watering the sod. If it is dry or muddy, adjust your sod watering technique.
For the first week, water it daily, preferably in the morning. From the second week, reduce the irrigation schedule to every other day. Once the sod begins to take root, water it twice a week. From the fourth week onwards, give the grass roughly one inch of water per week through irrigation.
-
Maintain the Grass
Once the grass grows to almost three inches high, it is time for your first mow. Use a walk-behind mower instead of a heavier riding mower. Because the lawn is still fragile, a walk-behind mower with lower speeds will keep it from being damaged. Make sure the mower blade is sharp, or you risk tearing up newly-rooted grass.
Fertilize the lawn after you mow it to add fresh nutrients to the soil. Avoid heavy activity on your new lawn for the first three to four weeks after installation. After that, enjoy your gorgeous new lawn.
Sodding can be done anytime during the growing season, as long as the ground is not frozen and there is adequate water available for installation and maintenance. By following these steps, you will be able to conduct a successful sod installation. If you don’t feel like doing it all by yourself, contact sodding professionals for a seamless installation.